I must admit that paper mache has always intimidated me a little bit. I figured there was some crazy concoction you had to brew just right and several days of waiting and drying, etc...
So I hesitantly decided to make my own pinata for my daughter's 3rd birthday party, telling myself in the back of my mind that if all went wrong, I could always just go to the party store and buy one. And I'm glad to say that I survived.
1.Inflate balloon & tear your strips
It's best if you use a round balloon. I wanted mine to be extra large, so it ended up
more oval than I wanted. Tear newspaper into 1 1/2" strips. They recommend doing three layers, so you can use adds or flyers that are colored for the second layer so you don't get confused.
*I know this picture says "cut your pieces" but I meant "tear" them. They lay flatter that way.
2. Make your paste
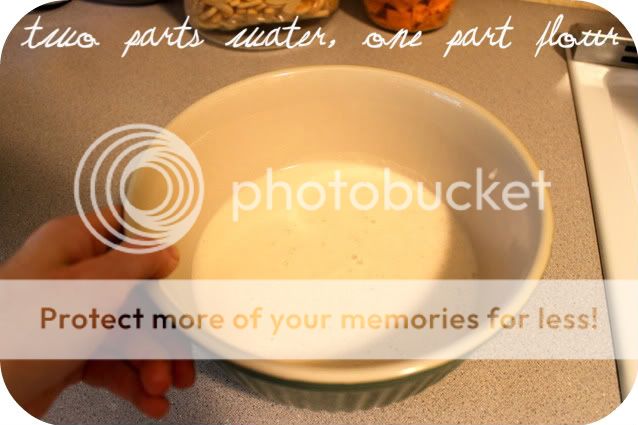
Mix two parts water, one part flour in a pan. I would whisk them in the pan first and then turn on low/med heat because if it heats up too quickly, it's a mess. Heat for 3-6 minutes until it thickens just a bit. Remove from heat and pour into a bowl.
*You can also use starch.
Mix two parts water, one part flour in a pan. I would whisk them in the pan first and then turn on low/med heat because if it heats up too quickly, it's a mess. Heat for 3-6 minutes until it thickens just a bit. Remove from heat and pour into a bowl.
*You can also use starch.

3. Cover your strips with the paste
Dip the strips into the paste and wring them out between your fingers or on the edge of the bowl. Here's where your toddler can help you make a huge mess of your kitchen.
(After about ten strips, I lied and told her we were all done. Then I finished it later.)

4. Let it dry
"They" say that if you use this cooked paper mache recipe, you can place all three layers at once without letting each layer dry separately. I did 2 1/2 layers (I got tired) and they dried just fine, but it did take about 24 hours.

5. Fill with candy
Cut a small flap in the bottom of the balloon. The balloon will shrink so you can pull it out and fill the pinata with candy. Tape your flap shut with masking or clear tape.

6. Decorate
I cut out small petals with a 4" base that I taped upside down onto the pinata. Once I finished one row, I flipped them over so the tape was hidden.
(Note: this part took FOREVER. Just to let you know)

7. Secure string
So here's where I messed up. You should tie a string around your pinata between layers two and three, securing it with masking tape where you need to. At midnight, that was WAY too complicated for me to do, so I skipped it. Thus, my final pinata has half of a hanger stabbed through the top of it so we could hang it. So take it from me, secure your string between your 2nd and 3rd layer of paper mache and save yourself the hassle!

Best of luck with your future pinatas!


No comments :
Post a Comment